 0 Comments
 How to Apply Shikshak Sewa Aayog Online Application Form for Teacher Post: In this post, we will teach you how to fill online application for Teachers Service Commission (TSC) Secondary Level, Lower Secondary Level and Primary Level.
Teachers Service Commission opens advertisement for secondary, lower secondary and primary level. Follow this post and fill the Shikshak Sewa Aayog Online Application Form.
Download the Shikshak Sewa Aayoog Sylabus
1. TSC Online Application Registration/Login
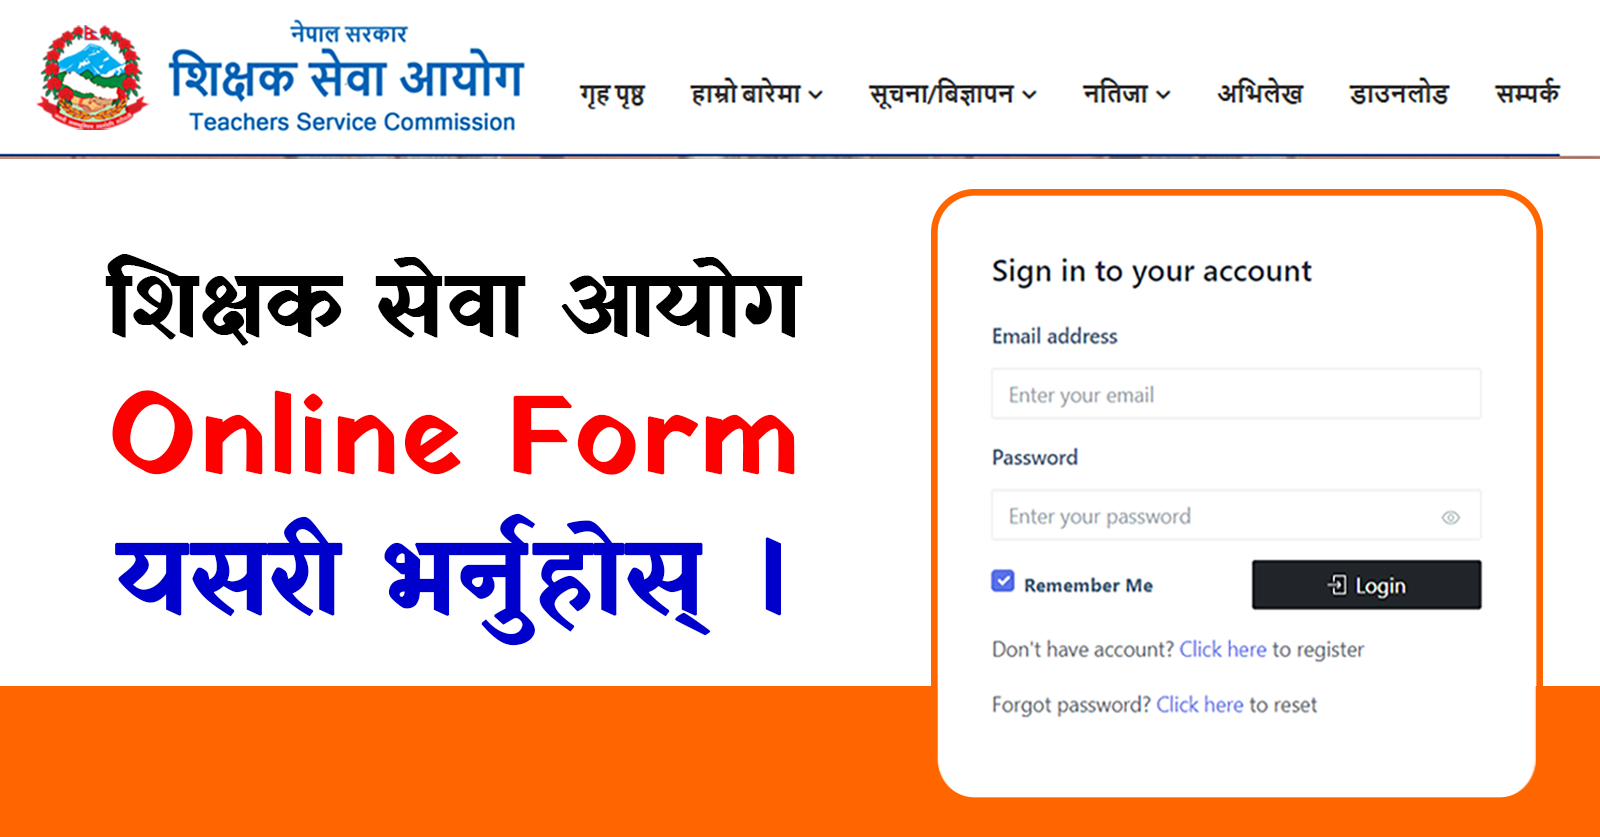
Step 1: First of all open the internet browser (Google Chrome, Firefox, Microsoft Edge and etc.) and go to the job portal site of TSC: www.online.tsc.gov.np/portal/login.
Step 2: Candidate can register or Login into Shikshak Sewa Aayog Job portal clicking into Account Login button.

If register has not been done, click on “Click here” link to register.

Step 3: To create an account user needs to add personal email address and Password. After that click on “Register” button to save the information added.
Note: After user has been registered, user will get email for verification purpose.
Step 4: To verify your email address, user gets OTP code (6 digits) number in your email.

Step 5: Enter your OTP code in the given box. Then click on “Verify” button.

Email verification gets completed after the above process.
2. How to Login into Shikshak Sewa Aayog Online Application Form?
Step 1: Candidate can Login into TSC Job portal clicking into Account “Login” button.
Step 2: Enter same email address and password used to register in the system. Then click on Login button.

User should be able to login into the system.
Note: If password is forgotten, then click on “Click here” to reset the password.

a. Enter the Email address that you enter at the login page.
b. A new generated password will be sent to your email address.
c. Go to your account and check the inbox for a mail regarding the new password.
d. Enter the same email address and the new password that has been given to you.
e. After that click at the login button and you can get the access to the system.
3.1: TSCForm Add the Personal Information?
Step 1: On the page’s top right side, click the Edit button. Fill up the personal information area with the necessary information. After that, click “Store” to save your personal inforamtion.

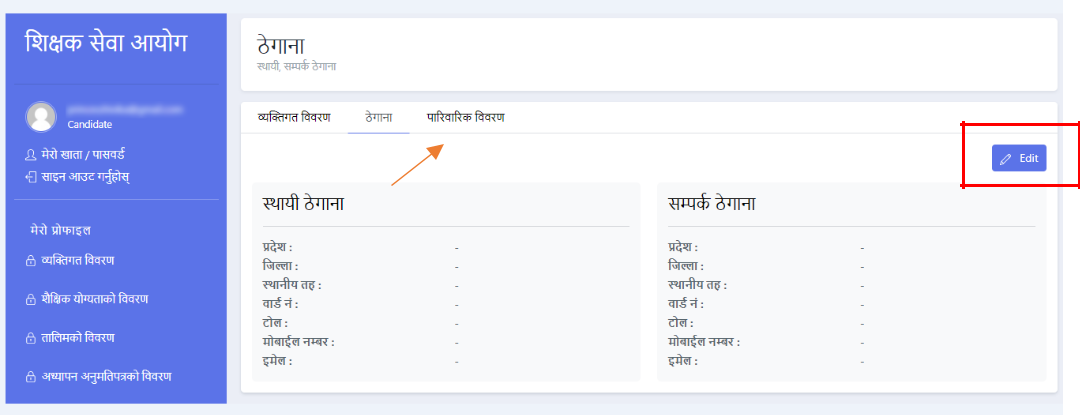
3.2: Add Edit Address?
Step 1: From Personal Information, click on Location in next Tab. Click on “Edit” button to add Address of the Personnel. Enter all the necessary Information and click on “Save” button.
3.3: Add Family Information?
Step 1: From Personal Information, click on Family information in next Tab. Click on “Edit” button to add Family Information. Enter all necessary information and click on “Save” button.

4.1: Add Educational Information?
Step 1: Click on Add button from top right side of the page. Enter following values in the fields:

Educational Institute, Level, Special Courses
a. Select Educational Institute from drop down.
b. Select level of education from drop down.
c. Select Passed year (in Nepali Date) from drop down.
d. Select Passed year (in English Date) from drop down.
e. Enter major subjects you studied. Multiple subjects can be added with comma.
Percentage and Division
a. Select division if specified in your marksheet from drop down.
b. Enter percentage.
c. Optionally, Select grade. (if your education is based in grade system)
d. Optionally, Enter GPA. (if your education is based in grade system)
e. Click on “Save” button.

4.2: How to Edit Educational Information?
Step 1: Click on three dots as shown in the screenshot below. “Edit” and “Delete” action button is available. Click on “Edit” action button so that Education information can be edited.
Step 2: Update Education Information from Education description page. Click on “Save” button after update has been made.
4.3: How to Delete Educational Information?
Step 1: Click on three dots as shown in the screenshot below. “Edit” and “Delete” action button is available. Click on “Delete” action button so that wrong Education information can be deleted.
Step 2: Are you sure? Question pop up is displayed with “Delete” and “Cancel” button. Click on “Delete” button to delete the education information.
User can Add, Edit and Delete Education information via Education Information Tab.
5.1: How to Add Training Information?
Step 1: Click on “Add” button from top right side of the page.
Step 2: Enter all the valid data in the respective fields. Click on “Save” button after adding all the values in the respective fields.

5.2: How to Edit Training Information?
Step 1: Click on three dots as shown in the screenshot below. “Edit” and “Delete” action button is available. Click on “Edit” action button so that Training Information can be edited.
Step 2: Update Training Information from Training description page. Click on “Save” button after update has been made.

5.3: How to Delete Training Information?
Step 1: Click on three dots as shown in the screenshot below. “Edit” and “Delete” action button are available. Click on “Delete” action button so that wrong Training Information can be deleted.
Step 2: Are you sure? Question pop up is displayed with “Delete” and “Cancel” button. Click on “Delete” button to delete the Training details.
User can Add, Edit and Delete Training information via Training Information Tab.
6.1: How to Add Teacher license details?
Step 1: Click on “Edit” button from top right side of the page to update the Teacher License details.
Step 2: Enter all the valid data in the respective fields. Click on “Save” button after adding all the values in the respective fields.

7.1: How to Add Current working school details?
Step 1: Click on “Edit” button from top right side of the page to update the Teacher Experience details.
Step 2: Enter all required values in the given fields and click on “Save” button.
7.2: How to Add Previous working school details?
Step 1: Click on “Add” button from top right side of the page to add Previous Working School details.
Step 2: Enter all required values in the given fields and click on “Save” button.
Candidate can add Current and Previous working details.
7.3: How to Edit Teacher Experience details?
Step 1: Click on three dots as shown in the screenshot below. “Edit” and “Delete” action button are available. Click on “Edit” action button so that Teacher Experience details can be edited.
Step 2: Update Teacher Experience details page. Click on “Save” button after update has been made.
7.4: How to Delete Teacher Experience details?
Step 1: Click on three dots as shown in the screenshot below. “Edit” and “Delete” action button are available. Click on “Delete” action button so that wrong Training Information can be deleted.
Step 2: Are you sure? Question pop up is displayed with “Delete” and “Cancel” button. Click on “Delete” button to delete the Experience details.
User can Add, Edit and Delete Education information via Education Information Tab.
8.1: How to Add Passport size photo?
Step 1: Click on “Add your new photo” link to upload user’s photo.

Step 2: Click on “Computer bata image browse garnuhos” button to upload the photo from user’s computer.
Note: Photo size should not be more than 200KB.
Step 3 : After selecting the photo, user can edit it before making it final photo. User can crop photo by clicking “Crop” button. Also, user can use options as Zoom In, Zoom Out, Move Left, Move Right, Move Up, Move Down, Rotate +90 deg, Rotate -90 deg, Flip X and Flip Y to edit the photo.
Step 4: To upload the cropped photo, user can click on “yo passport photo upload garna yaha click garnuhos” button.

Photo is uploaded in New Passport upload section.
Step 1: Click on “Naya dastakhat namuna upload garnuhos” link to upload user’s sample signature.
Step 2: Click on “Computer bata image browse garnuhos” button to upload the Signature from user’s computer.
Note: Photo size should not be more than 200KB.
Step 3 : After selecting the photo, user can edit it before making it final photo. User can crop photo by clicking “Crop” button. Also, user can use options as Zoom In, Zoom Out, Move Left, Move Right, Move Up, Move Down, Rotate +90 deg, Rotate -90 deg, Flip X and Flip Y to edit the photo.
Step 4: To upload the cropped photo, user can click on “Smaple your signature” button.
New Sample signature should be uploaded in the system.
8.3: How to Add Other documents?
Step 1: User can either click on “Add” or “Uploade any decument” button to upload other necessary documents.
Step 2: Select a image in you computer and upload the image file .
Note: Photo size should not be more than 200KB.
Step 4: After selecting the photo, user can edit it before making it final photo. User can crop photo by clicking “Crop” button. Also, user can use options as Zoom In, Zoom Out, Move Left, Move Right, Move Up, Move Down, Rotate +90 deg, Rotate -90 deg, Flip X and Flip Y to edit the photo.
Step 5: To upload the cropped photo, user can click on “Uploade a document” button.
New Additional document should be uploaded in the system. If uploaded the wrong file, user can delete the image by clicking on “hataunuhos” button.
9.1: How to Apply for Teacher’s Post from Advertisement?
Step 1: From Advertisement section, click on recently opened posts. Click on “Apply Now” button.

Step 2: Select job post after clicking on “Apply Now” button. After selecting job post, selection of province field appears.

Note: Job posts are displayed on accordance to the qualification and teaching experience level.
Step 3: Select Province. After selection of province Subject selection field appears.
Step 4: Select Subject. After selecting subject participating groups checkboxes appears.

Selection category with their respective advertisement no. should be available.
Step 5: After selecting the group for participation, user details should be displayed in below fields. Check at least one educational record, one training record and choose one document to attach in the given application.
Step 6: Check privacy and policy, then click on “Submit” button to submit the application.
Step 7: If all the details are correct then congratulation message pop up should appear. Click on “Ok” button to see digital copy of your application form and admit card.
Step 8: Candidate needs to pay amount for the application he/she applied to. Click on “Click here to pay the fee” button.
Step 9: Click on checkbox if you agree on all the conditions. For application payment select bank, then click on “generate voucher” button.
Step 10: Applicants can even download or print the voucher. To download or print applicants needs to click on “download/print voucher” button.
Voucher will be downloaded or gets printed depends upon applicants choice.
10.1: How to view application applied to?
Step 1: From Application applied details section, click on “View” button.
Note: If payment is due, then candidate will not be able to view entrance form or payment receipt.
10.2: How to view entrance form?
Step 1: Click on “click here and see you admin card” button after viewing application applied details.
Step 2: User should be able to view entrance form. User can download entrance form by clicking on “download admin card” button.

10.3: How to download application voucher?
Step 1: From Application applied details section, click on “View” button. Scroll down till the end of the page. Click on “download the pay voucher” button after viewing application applied details.

PDF file should be downloaded.